Back-Clip Harness Safety: Prevent Training Leash Clip Failures
By Sofia Martínez • 9th Jan
When your dog's back-clip harness becomes the weak link during a critical training moment, everything unravels (literally). A sudden leash clip failure can turn a peaceful walk into a safety crisis, eroding trust for both ends of the leash. Yet countless guardians overlook subtle signs of wear or mismatched gear until it's too late. This isn't about blaming equipment; it's about building training leash safety into your daily routine through intentional, stress-aware handling. I've seen clients transform panic into partnership by focusing on small, repeatable checks that prevent disasters before they happen. Small wins, stacked safely, build calm, confident teams.
Why Back-Clip Harnesses Deserve Your Attention (Not Anxiety)
Back-clip harnesses remain popular for good reason: they distribute pressure evenly across the chest, reducing strain on delicate neck structures (a crucial consideration for brachycephalic breeds or dogs with tracheal sensitivities). Unlike front-clip styles designed to discourage pulling, back-clip versions prioritize comfort during relaxed walking. But that very comfort creates unique safety demands. When improperly fitted or maintained, the harness's rear attachment point becomes vulnerable to tangles, slippage, or catastrophic breakage.
Lower the criteria, keep the slack minimal, especially during early street transitions.
The Hidden Risks You Might Be Ignoring
Most leash clip failure prevention starts with recognizing these often-overlooked stressors: For leash choice safety tradeoffs, see our retractable vs standard leash comparison.
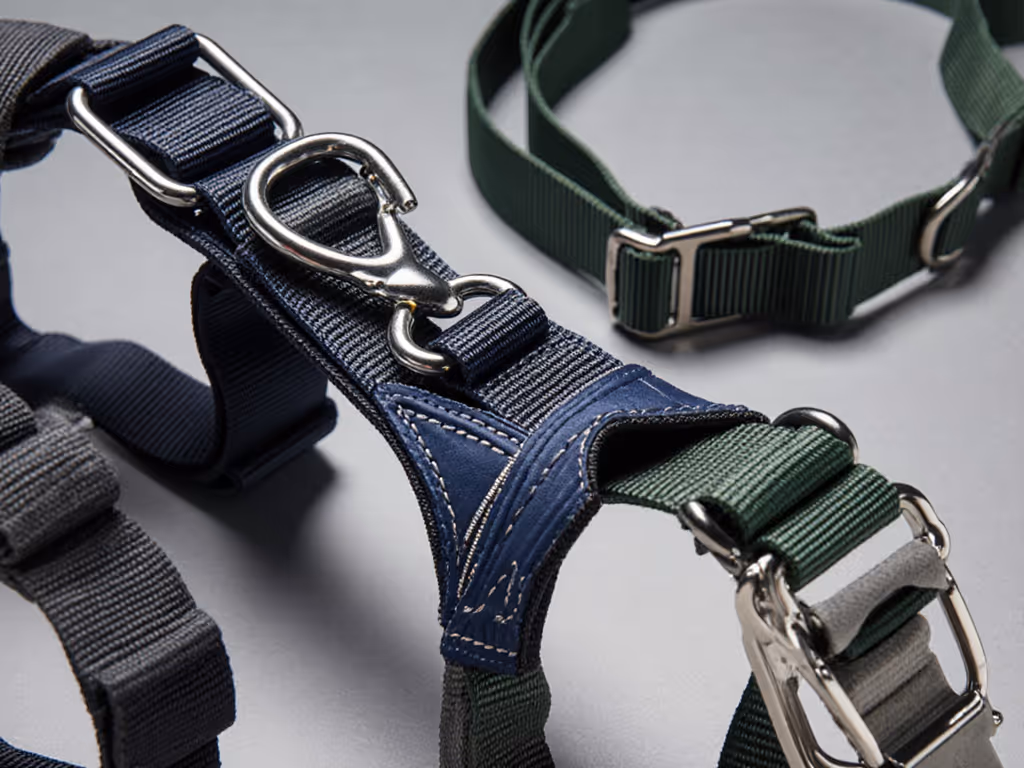
- Material fatigue: Nylon webbing degrades faster than guardians realize, especially in humid climates or after frequent washing
- Misaligned attachment points: Clips twisted against the harness stitching create friction hotspots
- Weight distribution errors: Bulkier dogs concentrate pressure on a single snap ring rather than the entire harness structure
- Handler tension patterns: Unconscious leash jerking during distractions accelerates wear
Your 4-Step Safety Audit (Do This Before Every Walk)
Preventing failures isn't about paranoia; it's about creating reliable habits through gentle, structured routines. These steps take under 90 seconds but transform how you interact with your gear.
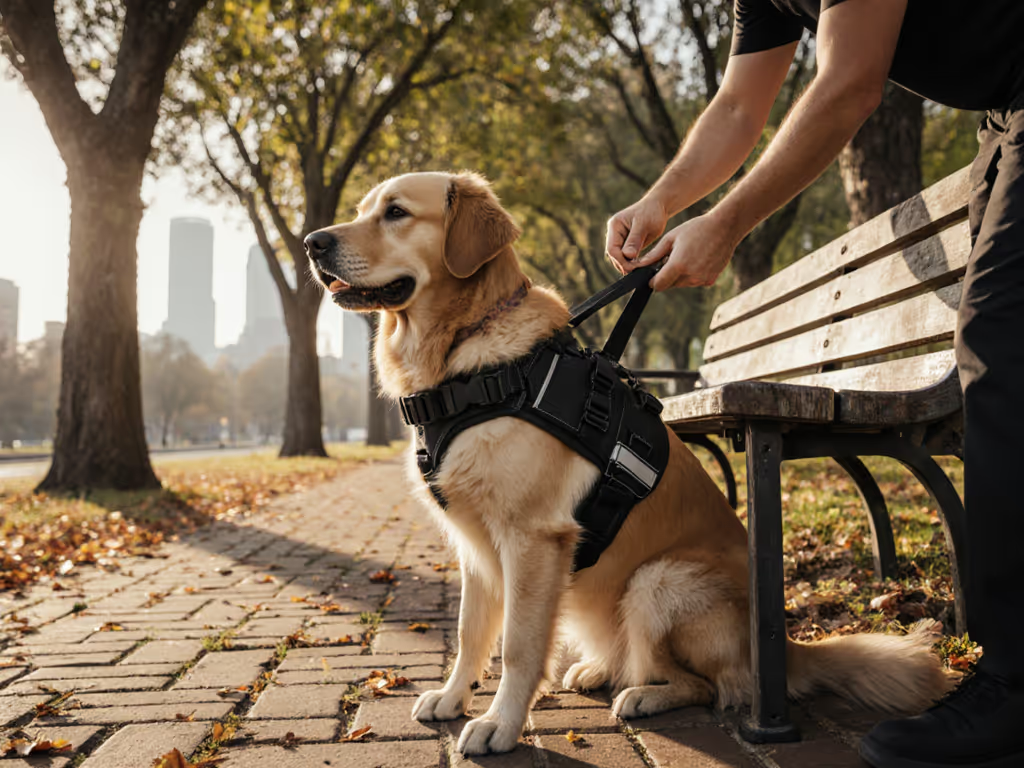
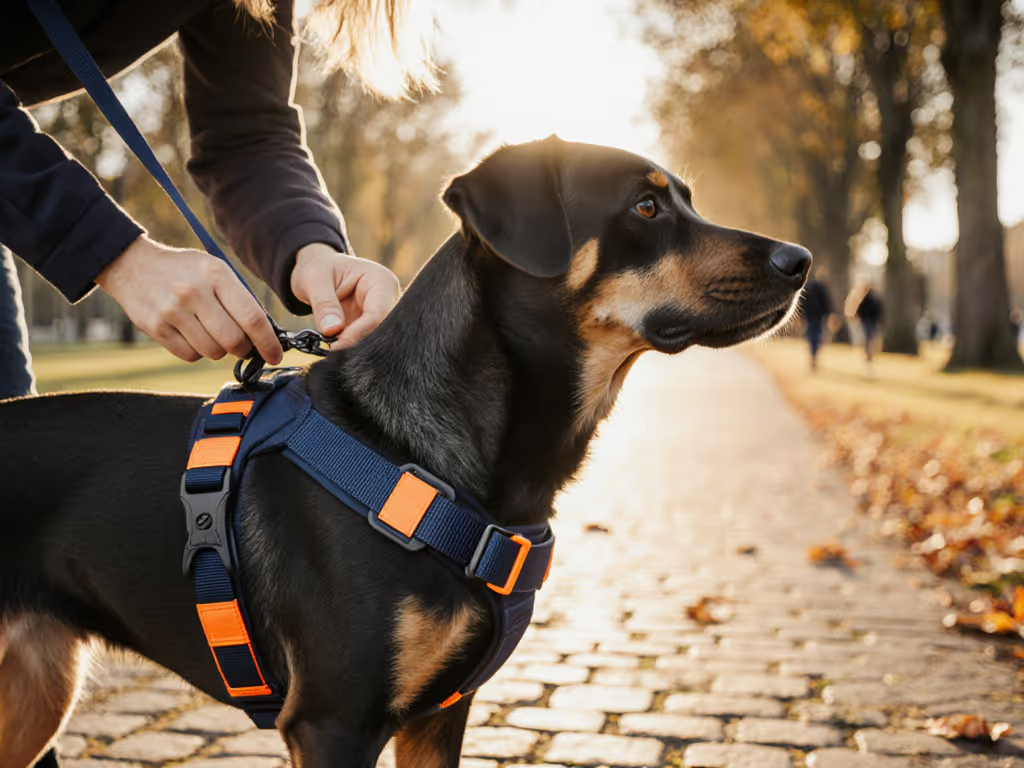
Step 1: The 3-Finger Fit Check (Home Stage Gate)
Before attaching the leash:
- Slide two fingers under the chest strap and one under the neck loop (no more, no less).
- Gently tug upward at the attachment point; fabric shouldn't gap wider than your thumb.
- Rotate the clip 360°: it should move smoothly without catching stitching.
Stress-reduction tip: Practice this inspection while your dog rests calmly beside you. Pair with a quiet "good job" to create positive associations. If straps dig or slip excessively, pause training until you address fit issues (dog training supplies mean nothing without proper foundation).
Step 2: The Tension Test (Threshold Transition)
Simulate real-world stress safely:
- Attach leash and stand 3 feet from your dog.
- Apply steady downward pressure (like resisting a lunge) for 5 seconds.
- Reverse direction: pull gently upward as if guiding over obstacles.
- Watch for fabric puckering near the clip or metal deformation.
Handler posture cue: Keep elbows bent at 90 degrees (this absorbs shock better than locked arms). Notice how your dog responds; stiffening or whale-eye indicates discomfort requiring immediate adjustment. Safety features for training leashes include breakaway mechanisms, but never rely solely on them; your vigilance matters most.
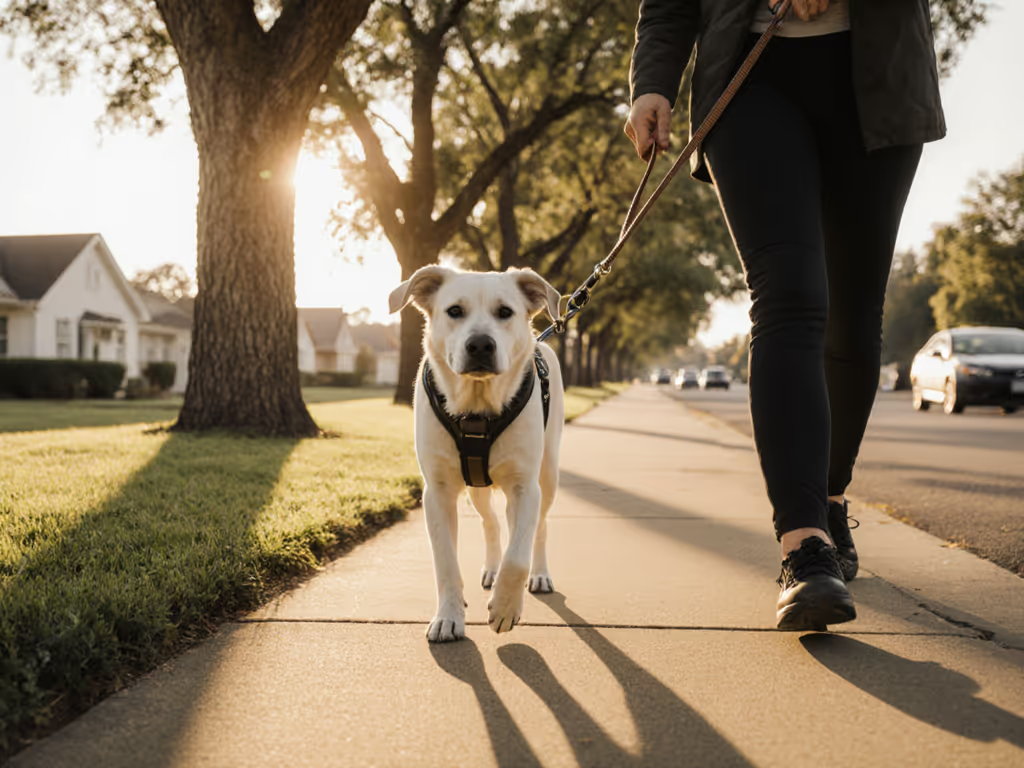
Step 3: The Context Shift Drill (Street Readiness)
Test gear where distractions live:
- Walk to your threshold (doorstep or elevator lobby).
- Pause for 10 seconds before attaching leash (reset focus).
- Complete one slow lap observing:
- Clip alignment during turns
- Strap movement when dog sniffs ground
- Your natural hand position during stops
This transitions training from controlled home environments to dynamic street contexts. I once helped a guardian in a high-rise building master this with just three-minute thresholds in their hallway, culminating in that tearful ten-step victory toward the door. For tight hallways and elevator lobbies, these small-space training equipment picks keep sessions effective without sacrificing safety. Small wins rewire both canine and human nervous systems.
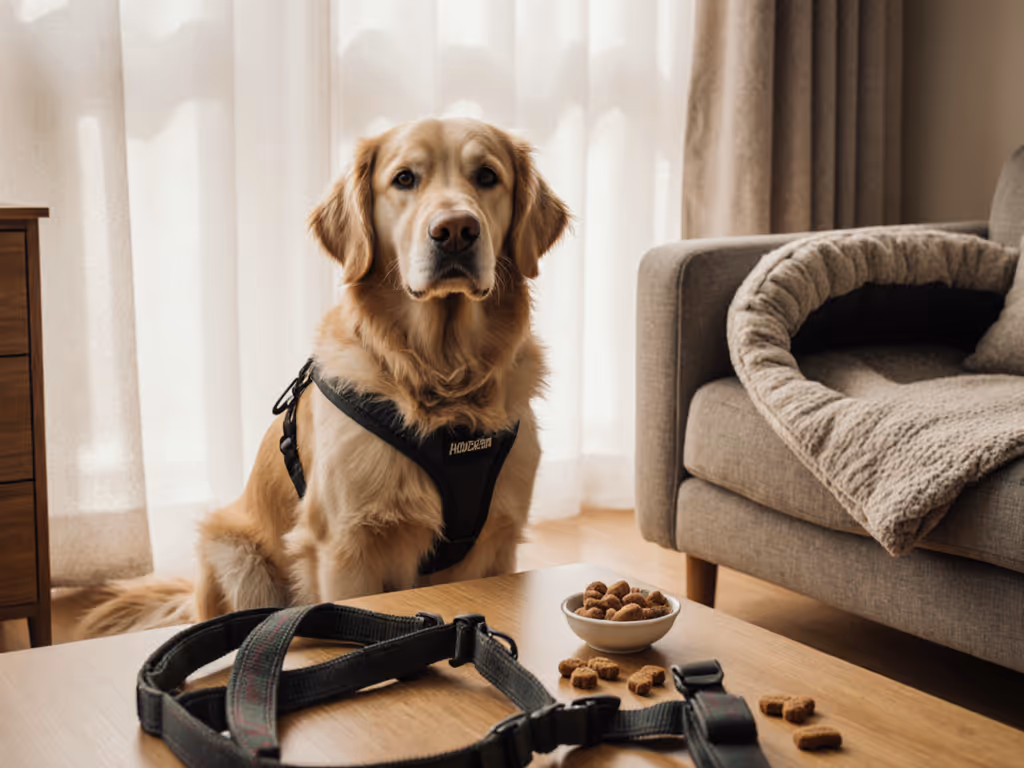
Step 4: The Post-Walk Ritual (Confidence Builder)
Make evaluation part of winding down:
- Visually scan for frayed fibers or discolored stitching
- Run fingertips along clip edges for burrs or sharp points
- Note any unusual odor (indicates bacterial growth in damp fibers)
- Store harness unclipped to maintain spring tension
Document recurring issues in a simple log: "Tuesday: slight twisting at 2 o'clock position during squirrel encounter." Patterns reveal when replacement is needed versus temporary adjustments. To extend your harness and leash lifespan, follow our training gear care guide.
Training Integration: Where Safety Meets Skill Building
Leash breakaway mechanisms are valuable second-line defenses, but your training creates the first line. Blend safety checks with skill development through these progression checklists:
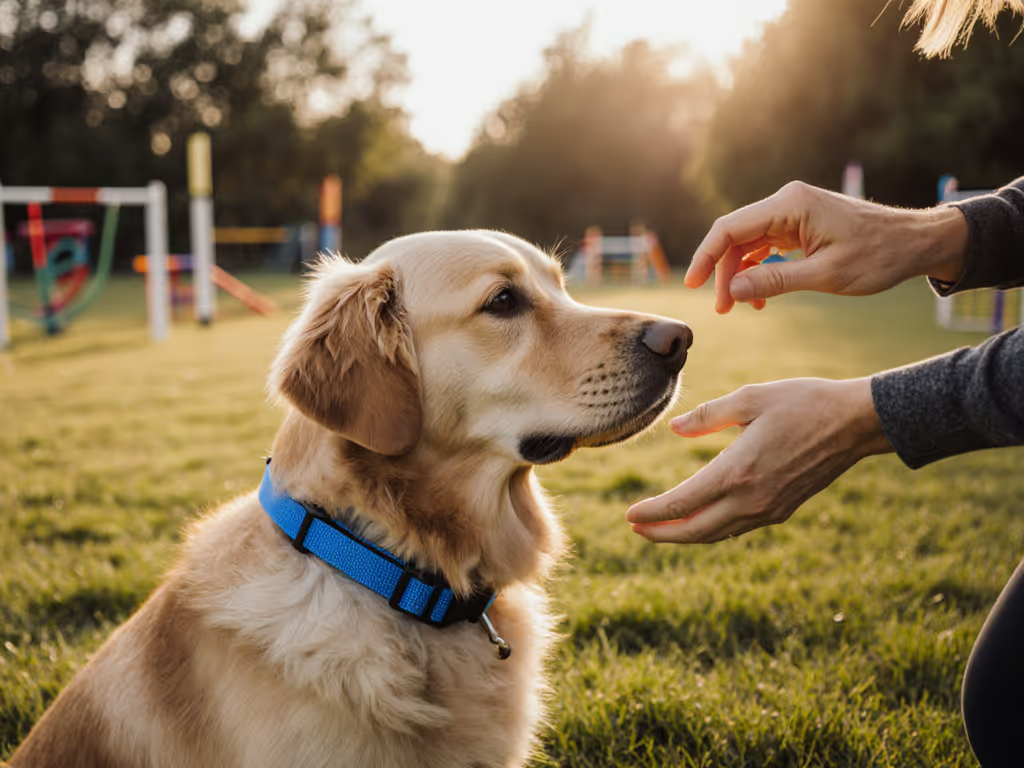
Skill Stack: Loose Leash Foundations
| Stage | Safety Focus | Handler Action |
|---|---|---|
| Home | Clip alignment during pauses | Click/treat when dog stands calmly for 3 seconds with leash attached |
| Threshold | Tension distribution during transitions | Step through doorway only when harness sits square on shoulders |
| Street | Attachment point stability in motion | Reward every 5 steps of slack leash before clip shows stress |
Notice how each stage gate addresses harness safety while building desired behavior. This prevents the common pitfall of treating gear and training as separate concerns. When clip failures happen mid-session, revert to the last successful stage; never force through compromised equipment.
Calm Handling Under Pressure
Your stress compounds your dog's. If you spot a potential issue:
- Stop moving (freeze-frame posture)
- Breathe audibly (signals safety to dog)
- Adjust slowly (no jerking motions)
- Reconnect (offer chin scratch before continuing)
This models emotional regulation while protecting gear integrity. Remember: consistent, calm reps create confidence, not just for your dog, but for you as a handler navigating real-world complexities.
Your Actionable Next Step
Tonight, implement just one element of the 3-Finger Fit Check during your evening potty break. Notice how your dog holds themselves differently when the harness sits correctly. Text a friend what you discovered; this tiny accountability loop builds momentum. Tomorrow, add the Tension Test during your first training session. Small wins, stacked safely, build calm, confident teams.
When gear feels like an extension of your partnership rather than a worry point, walks transform from endurance tests to joyful connections. You've got this, one careful clip at a time.
Related Articles