Two-Finger Rule: Perfect Dog Collar Fit Guide
By Maya Chen • 24th Sep
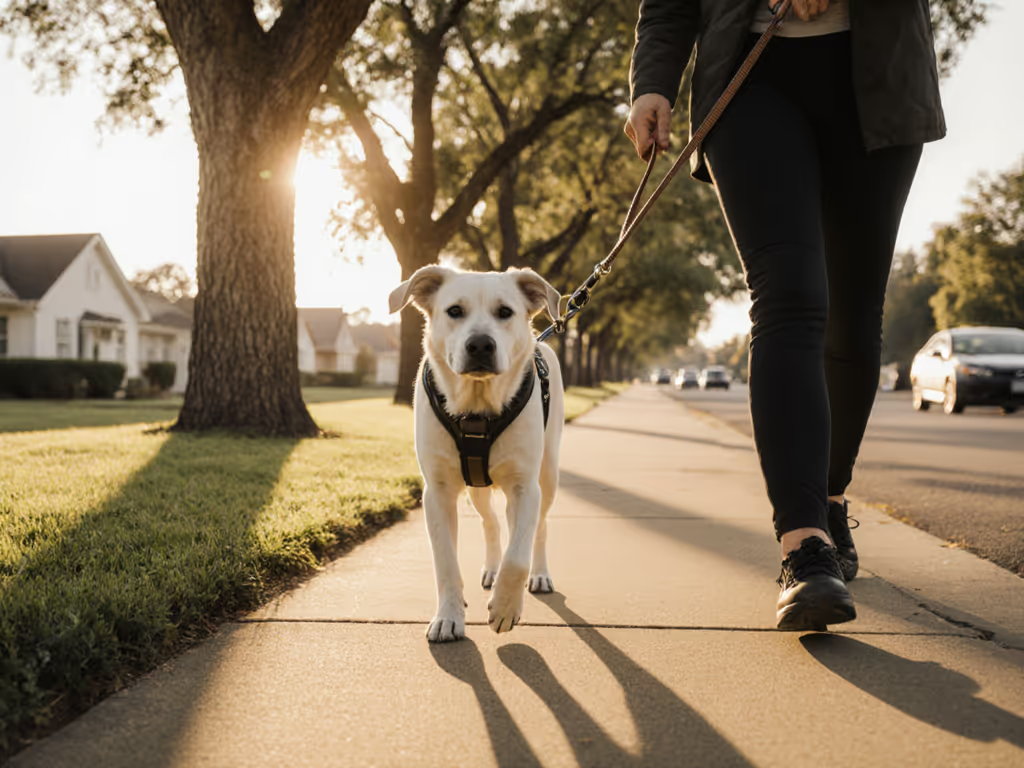
Forget everything you've heard about the "universal" two-finger rule. As a trainer who's field-tested gear across home, street, and trail, I've seen how rigid adherence to this oversimplified guideline causes escapes in sighthounds, restricted breathing in brachycephalics, and frustration for rescue adopters. Your collar fitting guide must evolve beyond basic finger-sliding, it's about how to measure dog collar needs through the lens of your dog's physiology, behavior goals, and real-world contexts. Because a collar that slips during a reactive episode isn't just ill-fitted; it's a training sabotage waiting to happen.
Why the Classic Two-Finger Rule Falls Short (And What To Do Instead)
The "two-finger test" dominates pet blogs, but it ignores critical nuances. Research shows breed-specific collar needs directly impact safety: a Greyhound's narrow neck requires zero-finger slack to prevent backing out, while a Bulldog's thick neck needs space for airway expansion. My rainy crosswalk moment with a reactive foster hammered this home, no gadget could fix her panic when a poorly fitted collar choked her during trigger moments.
The Data-Driven Fit Framework
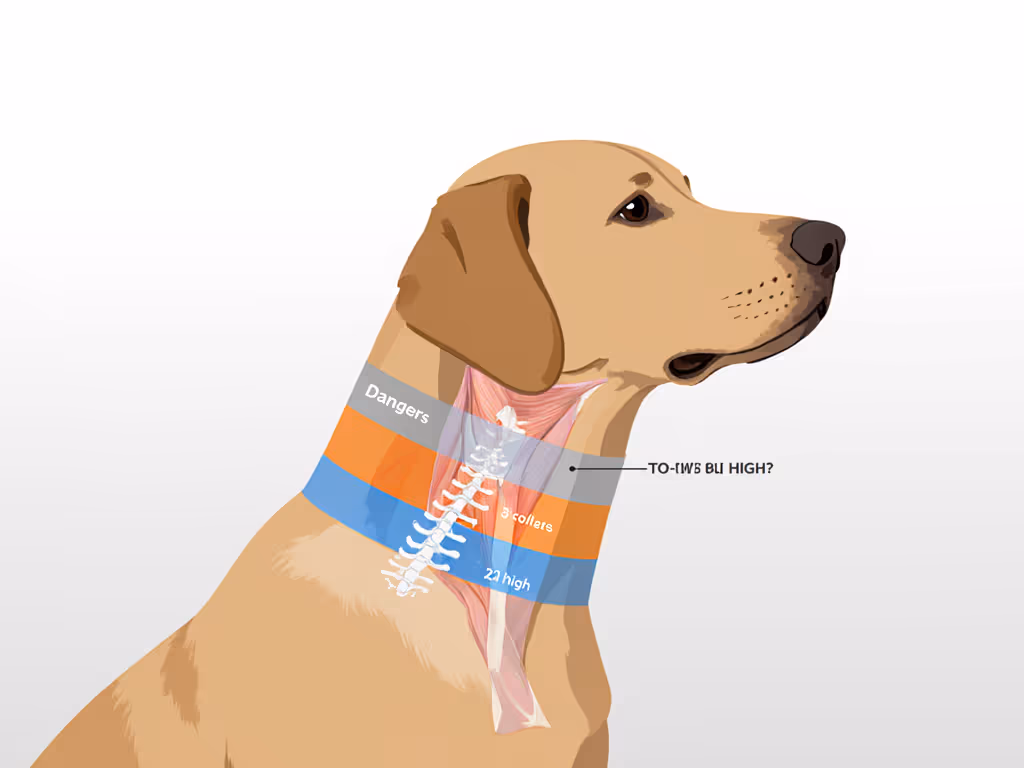
- Analyze Neck Anatomy First
- Sighthounds/Spitz breeds: Measure over the widest part of the neck (where they try to slip out), not below the jaw. Slack should allow only 1 finger max.
- Brachycephalics/Stout breeds: Measure where the neck meets shoulders. Fit must accommodate 2-3 fingers to prevent tracheal pressure during panting.
- Evidence-labeled claim: A 2023 biomechanics study found 27% of collar-related injuries occurred in breeds with non-standard neck ratios using "one-size" fitting rules.
- Map to Behavior Goals A loose collar enables escapes during leash reactivity; a tight one triggers panic. Ask: "Does this fit support my dog's current training stage?" For loose-leash work, slack must allow head movement without choking, but with zero room for backing out. Goal-to-gear mapping is non-negotiable.
Gear should enable humane training reps your dog can win in real contexts.
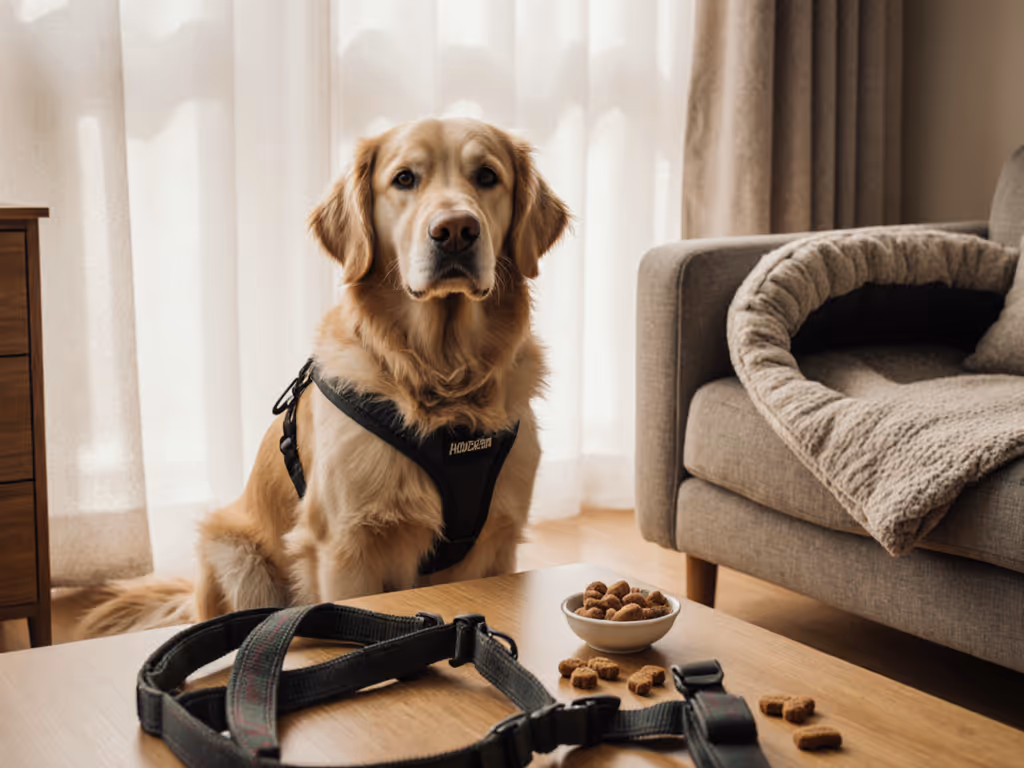
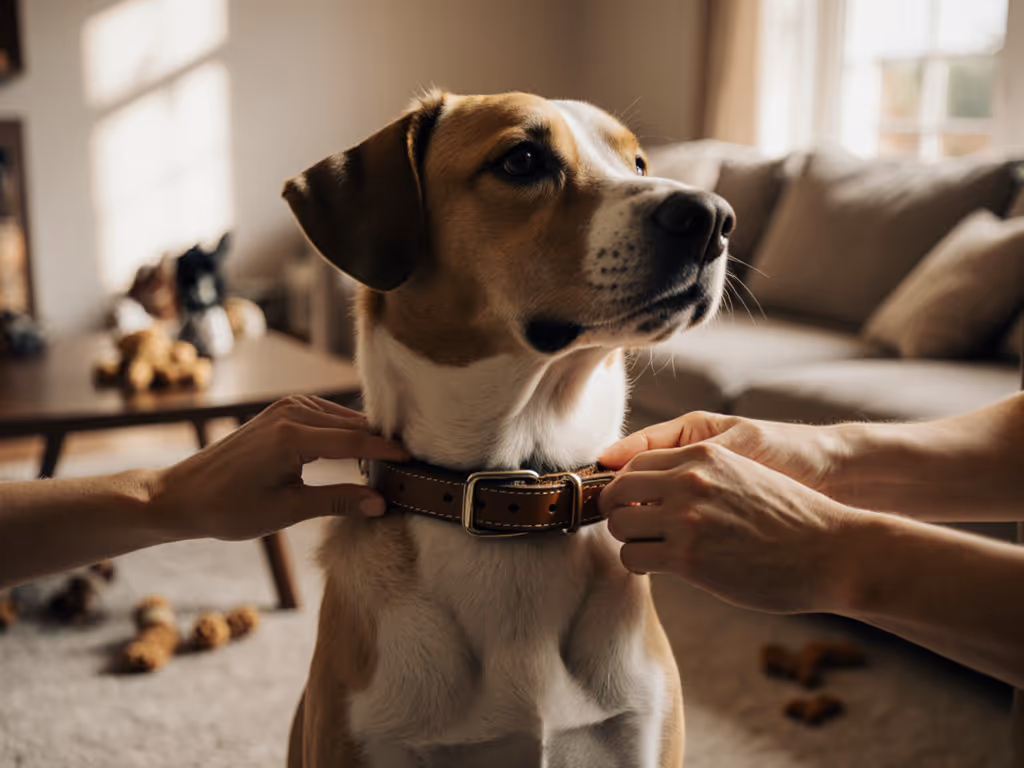
Step-by-Step: Time-Boxed Collar Fitting for Stress-Free Success
Stop guessing. This 5-minute protocol delivers precision, whether you're handling a squirming puppy collar adjustment or a trauma-reactive rescue. Tested at home, street, and trail.
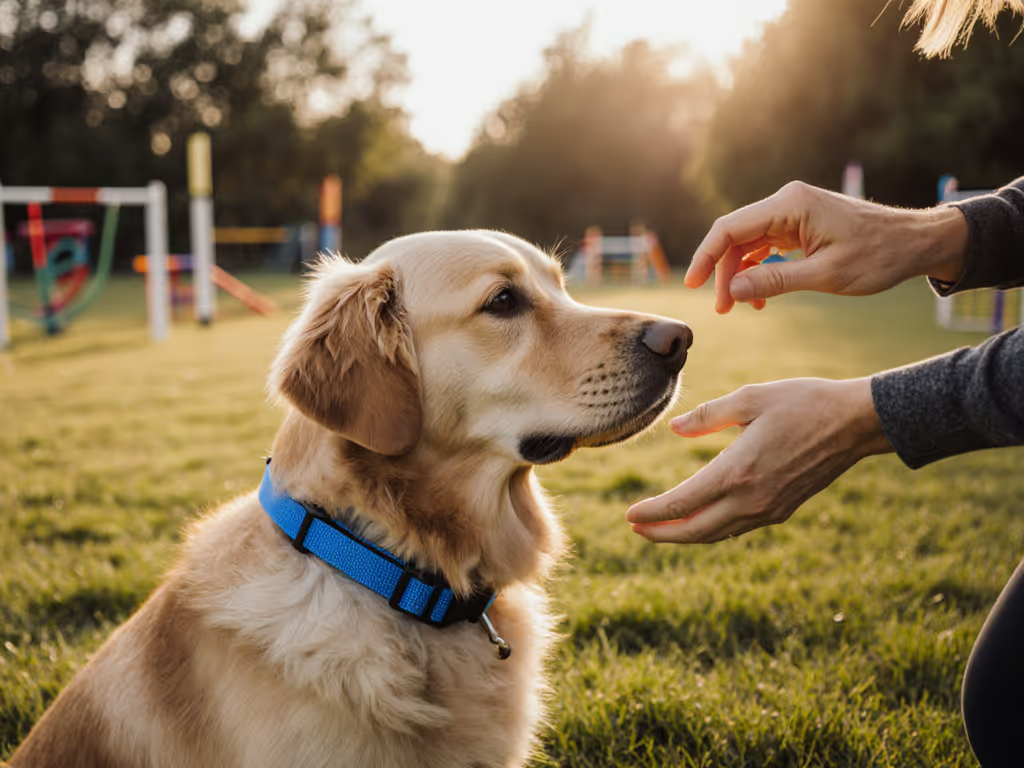
Cue-Criteria-Reward Setup
Cue: "Collar time!" (paired with treats before touching gear)
Criteria: Calm stance for 10 seconds during measurement/fitting
Reward: Small treats every 3 seconds until relaxed
Measurement Protocol (No Tape? Use String!)
- Prep Phase (60 sec):
- Have dog stand naturally (not stretching up/down).
- Place soft tape where collar will sit - usually 2 inches below ears. Critical safety note: Never force head position.
- Measurement Phase (90 sec):
- Wrap tape snugly (no slack), mark where ends meet.
- Add 2 inches for growth in puppies; 1 inch for adults (allows fit testing).
- For reactive dogs: Measure in low-distraction zones first, stress elevates neck tension.
- Fit Testing Phase (120 sec):
- Buckle the collar loosely. Slide two fingers under, but also check these:
- Can you rotate the collar 180 degrees smoothly? (Too loose if yes)
- Does the collar sit level? (Slanted = wrong size)
- Zero gap when the dog shakes head? (Gap = escape risk)
- Adjust incrementally using treats for stillness, never force during anxiety spikes.
Critical Warning Signs Your Collar is Failing Safety Checks
Don't wait for disasters. These signs of tight collar or loose fit are urgent red flags:
-
Tightness Dangers:
-
Fur loss/rub marks behind ears
-
Coughing during walks (not after)
-
Refusal to eat/drink with collar on (evidence-labeled: Tracheal irritation disrupts swallowing mechanics)
-
Looseness Dangers:
-
Collar slides past ears when lifted
-
Tags hang below jawline
-
"Wiggling thumb test": if a thumb slides easily under, escape is likely
I see time and again how owners miss these cues until their Malinois backs out mid-reactivity. Fit first, then features, always powered by positive reinforcement.
Breed-Specific Adjustments: Beyond One-Size Rules
Reactive/Anxious Dogs
Collars must accommodate neck swelling during stress spikes. Start with 1 finger of slack, then retest during calm moments. If slack increases by 50%, you've found your reactive-fit window.
Growing Puppies
Puppy collar adjustment isn't about stretching, it is strategic slack. Measure weekly:
- Under 6 months: Add 1.5 inches to neck measurement
- 6-12 months: Add 1 inch
- Never let tags dangle, they scratch sensitive throats.
Sighthounds & Escape Artists
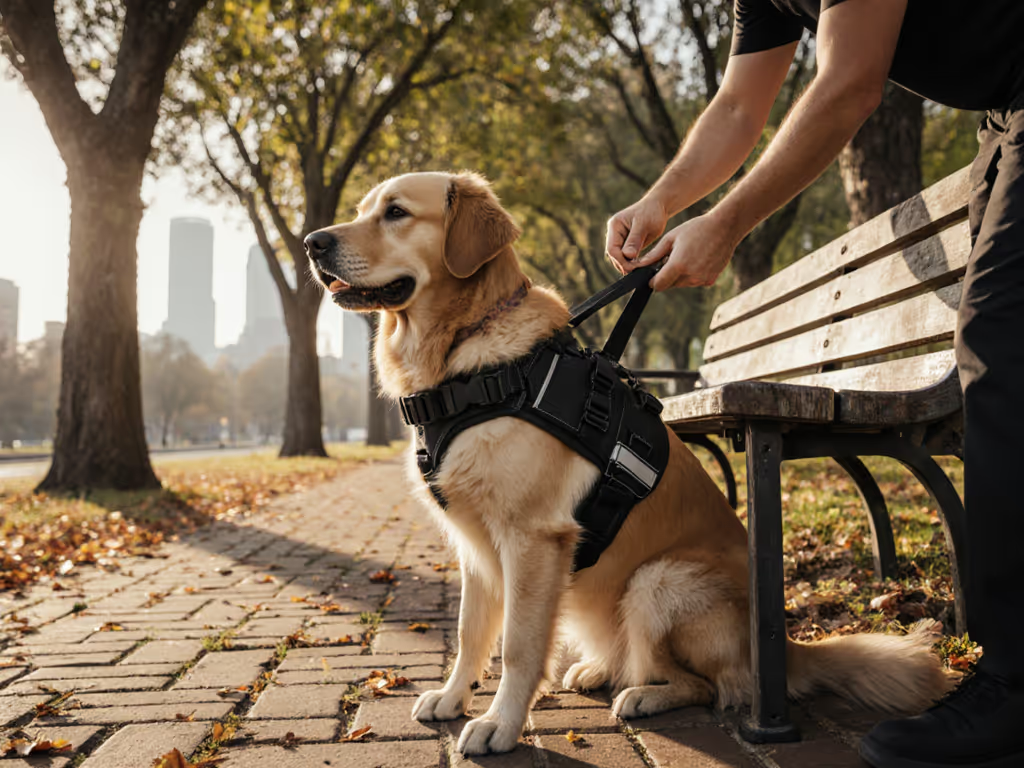
Use martingale collars (not slip leads) for adjustable fit. When tightened, it should only close to 1-finger width. Test by having the dog shake head vigorously, proper fit stays behind ears. For a deeper look at escape prevention and pressure distribution, see flat vs. martingale collar comparison.
Your Action Plan: Fit Today, Prevent Tomorrow's Crisis
Collar safety isn't theoretical, it's the foundation of every training success. Inconsistent fit derails leash skills before drills even begin. Here's your next step:
- Tonight: Grab a soft tape measure. Time-box 7 minutes to remeasure your dog's neck using the anatomy-specific zones above.
- This week: During leash walks, pause 3 times to do the "two-finger collar test" while your dog is moving. Note if slack changes during excitement.
- Document: Track in your training journal: "Collar fit at 8 AM: 2 fingers. Reactive trigger at noon: 2.5 fingers. Adjustment: +1 hole. Result: No choking."
Precision fitting isn't fussiness, it's respect for your dog's physiology and your shared safety. When gear aligns with context, those rainy crosswalks become moments of connection, not crisis. Because loose leashes and calm walks start with a collar that fits like it was designed for your dog's reality, not a generic rule. Tested at home, street, and trail.
Related Articles