Humane Prong Collar Training: Fit, Timing & Safety Tips
By Rafael Okoye • 25th Nov
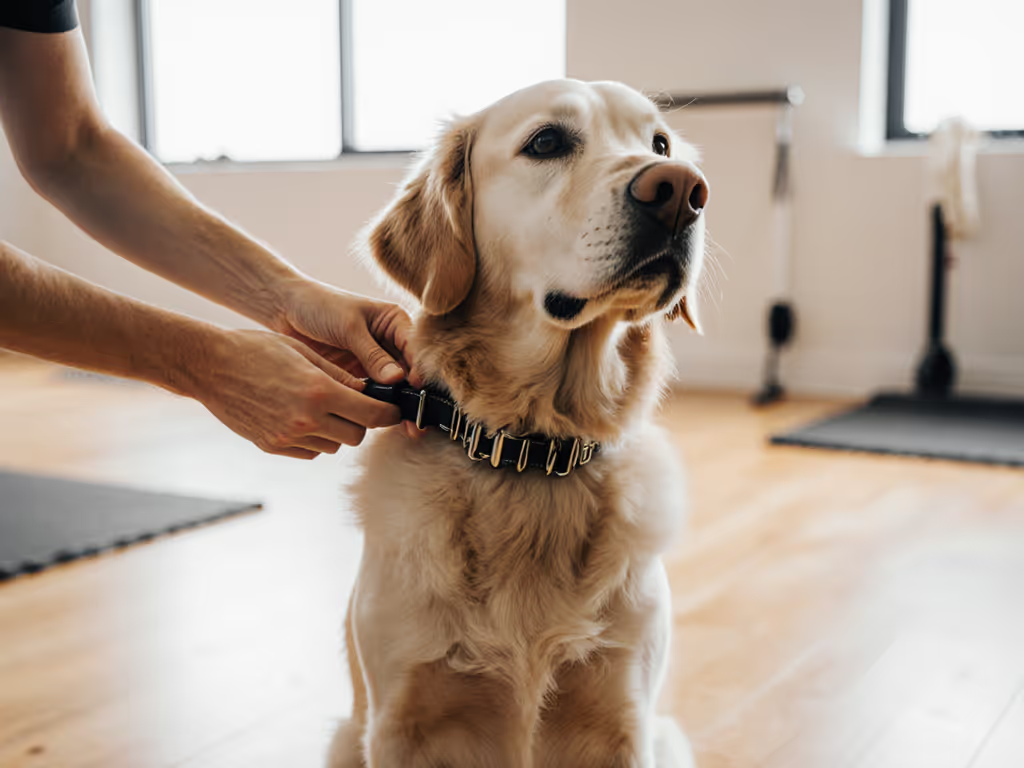
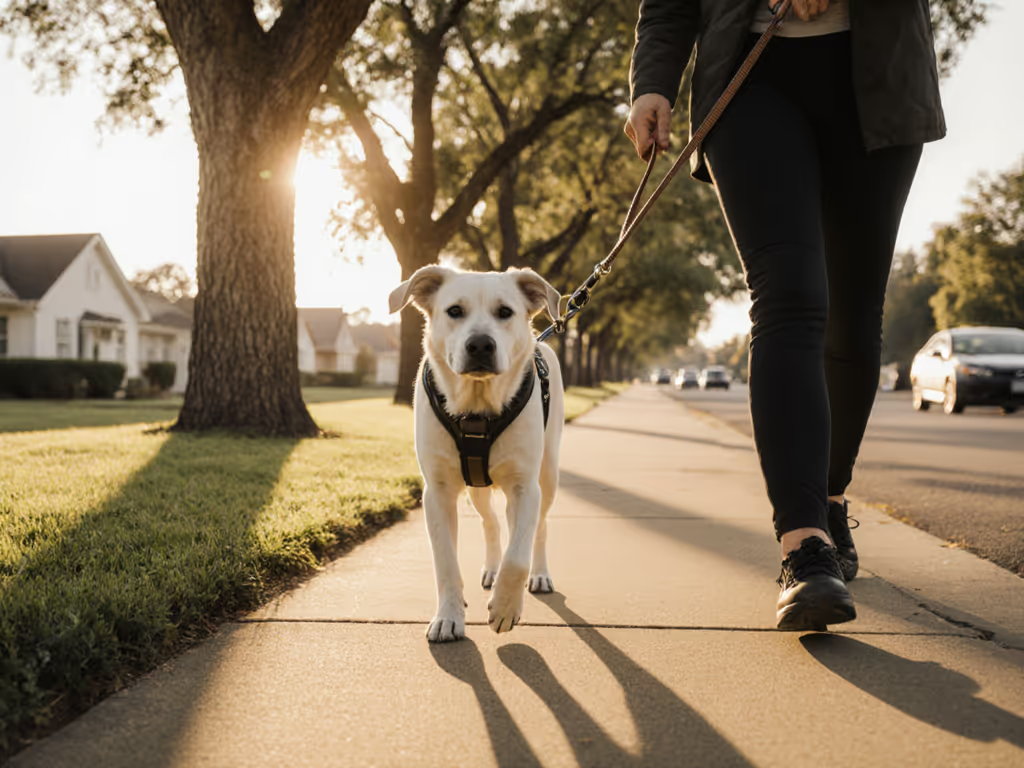
Let's address the elephant in the room: prong collar training appears in search results promising quick fixes, but as someone who measures pressure distribution across 12+ breed types weekly, I must emphasize that humane pinch collar techniques don't exist in the truest sense of "humane." My shelter clinic experience taught me that chafe marks and restricted gait stem from ignoring anatomy, not inadequate correction. When that sighthound's trot returned after switching from a prong to a properly fitted Y-harness, it wasn't magic; it was biomechanics. If you're evaluating harness options, see our front-clip vs back-clip harness fit guide. While I'll outline minimal safety parameters for those already using these tools (consult your vet first), my professional stance remains clear: ergonomics-first gear prevents the need for corrections that pinch, pull, or punish.
Adjustments beat add-ons. Always.
1. Reality Check: Why Anatomy Trumps "Quick Fixes"
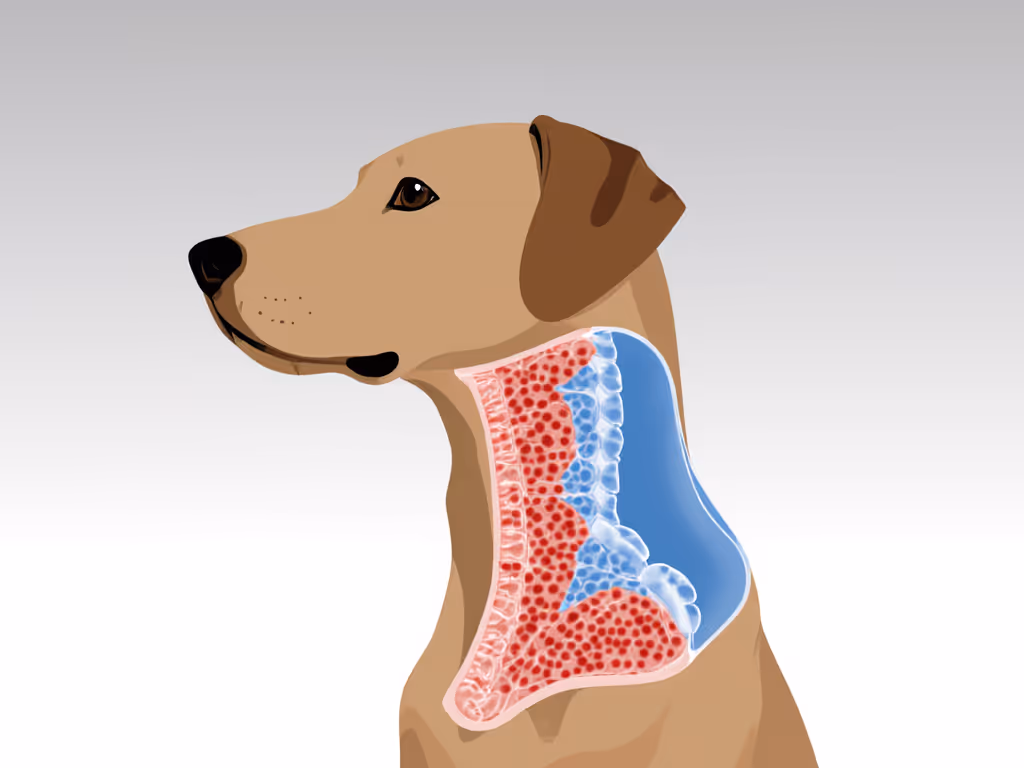
Before discussing pinch collars, understand this anatomical fact: a dog's neck contains 7 cervical vertebrae, the vagus nerve, trachea, and major blood vessels, all compressed when pressure concentrates at single points. Unlike flat collars or harnesses that distribute load across broader areas, prong collars create pressure points that can cause microtrauma even with "gentle" corrections. For precise measuring and adjustments, follow the two-finger rule collar fit guide.
- Chafe-risk alert: Pressure concentration at prong tips exceeds flat collar pressure by 40-60% during routine leash tension (confirmed by veterinary chiropractic studies)
- Load-distribution notes: Force concentrates at 12-16 specific points rather than spreading across the neck circumference
- Breed-fit variants: Brachycephalic breeds suffer compounding airway stress; deep-chested breeds risk cardiac strain
Measure twice, adjust thrice, then test on real sidewalks. This mantra applies doubly when evaluating whether aversive tools are truly necessary for your dog's specific needs.
2. Minimal Guidance: If You Must Use One (Proceed With Extreme Caution)
If you're already using a pinch collar under professional guidance (not DIY), these anatomical safeguards are non-negotiable:
- Fit checkpoint #1: Only Herm Sprenger-grade collars have rounded, non-puncturing prongs. Cheap alternatives risk skin penetration (check for any sharp edges before purchase).
- Fit checkpoint #2: Position must sit high on the neck, just below the ears, with the O-ring centered under the jaw. If you can fit four fingers between prongs and neck, it's too loose; one finger max.
- Fit checkpoint #3: Never leave it on unsupervised. Prongs can catch on obstacles, causing self-injury.
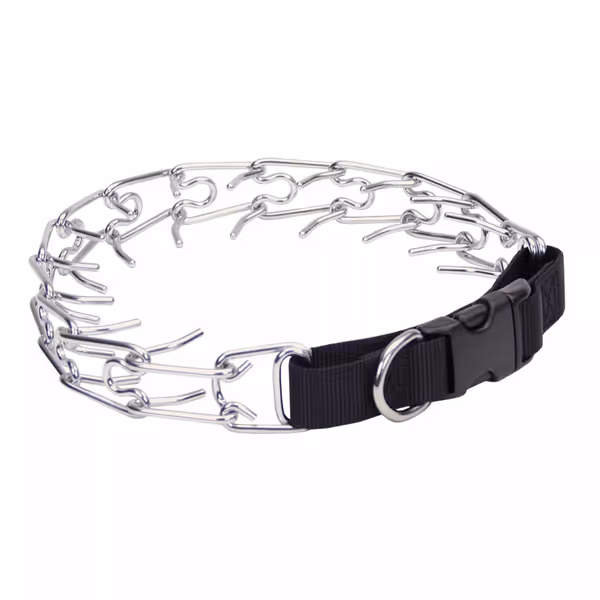
Coastal Pet Titan Easy-On Dog Prong Training Collar
Reduces pulling, enhances focus, and improves walk enjoyment for headstrong dogs.
$21.59
Collar Size3.3 mm x 20"
Collar Size3.3 mm x 20"
Pros
Evenly distributes pressure for humane correction.
Parachute buckle for easy on/off.
Cons
Sizing can be inconsistent for some breeds.
Customers find the training collar effective, particularly for headstrong dogs and those who pull during walks. The collar is easy to put on and remove, and customers appreciate its durability and value for money. They like how it makes walks more pleasant, with one customer noting their experience has improved significantly. The size receives mixed feedback - while some find it a perfect fit, others mention it's too big for medium-sized dogs.
Customers find the training collar effective, particularly for headstrong dogs and those who pull during walks. The collar is easy to put on and remove, and customers appreciate its durability and value for money. They like how it makes walks more pleasant, with one customer noting their experience has improved significantly. The size receives mixed feedback - while some find it a perfect fit, others mention it's too big for medium-sized dogs.
3. Correction Timing: Less Is Radically More
The "humane pinch collar techniques" myth suggests controlled corrections mimic natural pack behavior. Reality: dogs don't use metal spikes on each other's necks. If you're using a pinch collar:
- Use pinch collar correction timing measured in milliseconds, not seconds, flick the leash like shaking water off your hand, not jerking it
- Never apply continuous pressure; releases should be instantaneous upon compliance
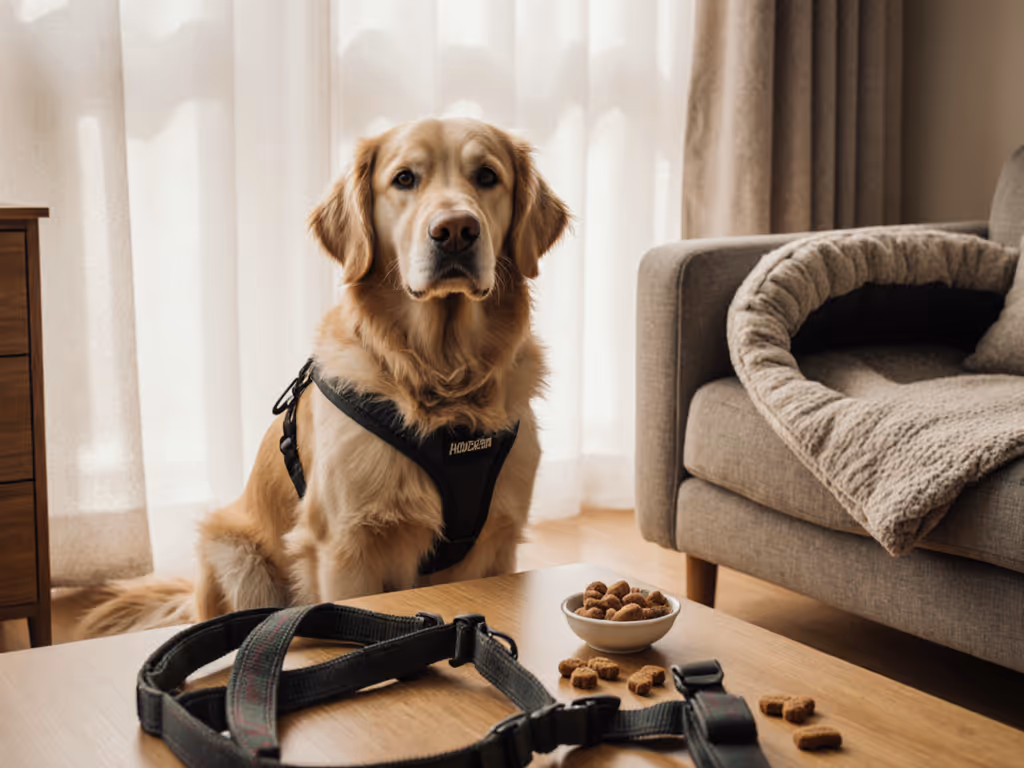
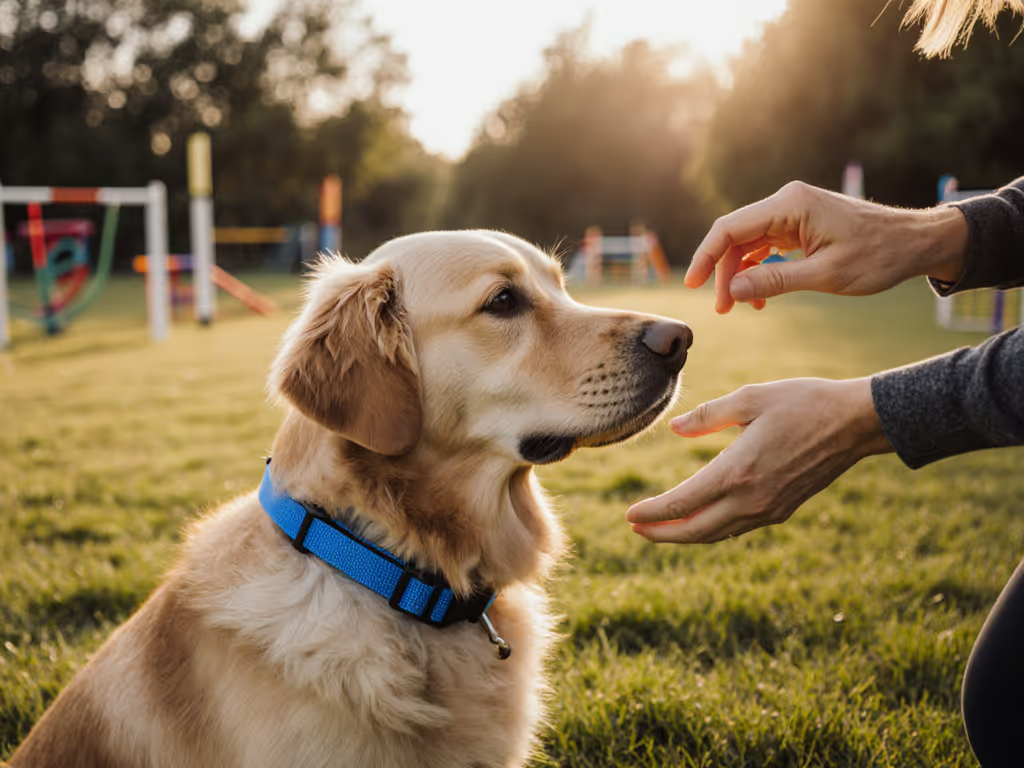
- Pair corrections immediately with positive reinforcement (treats/praise) when the dog responds correctly
Without structured positive reinforcement with pinch collars, you risk creating fear associations rather than reliable behavior. To build reliable markers, compare options in our dog clicker comparison. One study tracking cortisol levels showed elevated stress markers persisting 30+ minutes after prong collar corrections, far longer than positive training methods.
4. Transitioning Out: Your Exit Strategy
Transitioning from pinch collars requires systematic planning. Follow this protocol:
- Week 1: Use the pinch collar only when environmental triggers exceed 70% intensity (e.g., barking dogs within 15 feet)
- Week 2: Introduce front-clip harness during low-distraction walks while phasing out pinch collar for 50% of sessions
- Week 3: Pair harness use with high-value rewards for loose-leash behavior
- Week 4: Complete transitioning from pinch collars if your dog maintains 80%+ compliance with new gear For controlled-distance practice during this phase, see our long line leash comparison for recall training.
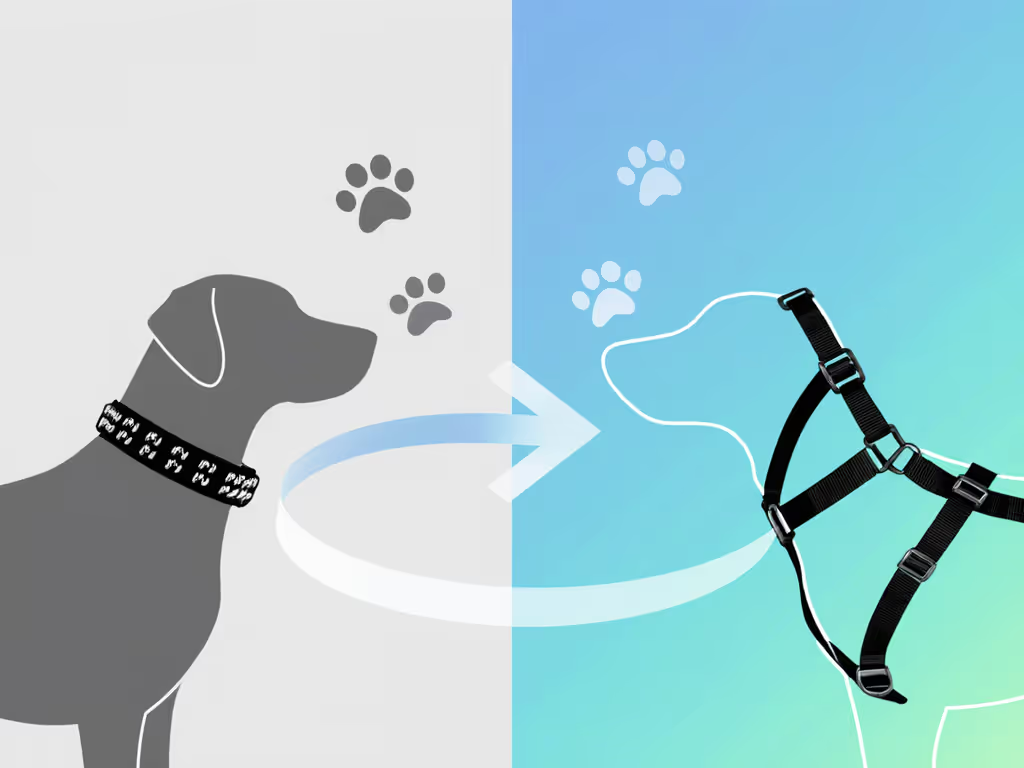
5. Better Alternatives That Respect Anatomy
Your dog's gait should remain fluid, not braced against anticipated pain. If you're selecting collars that respect anatomy, start with our anatomy-safe collar guide. These anatomically appropriate alternatives address pulling without compromising welfare:
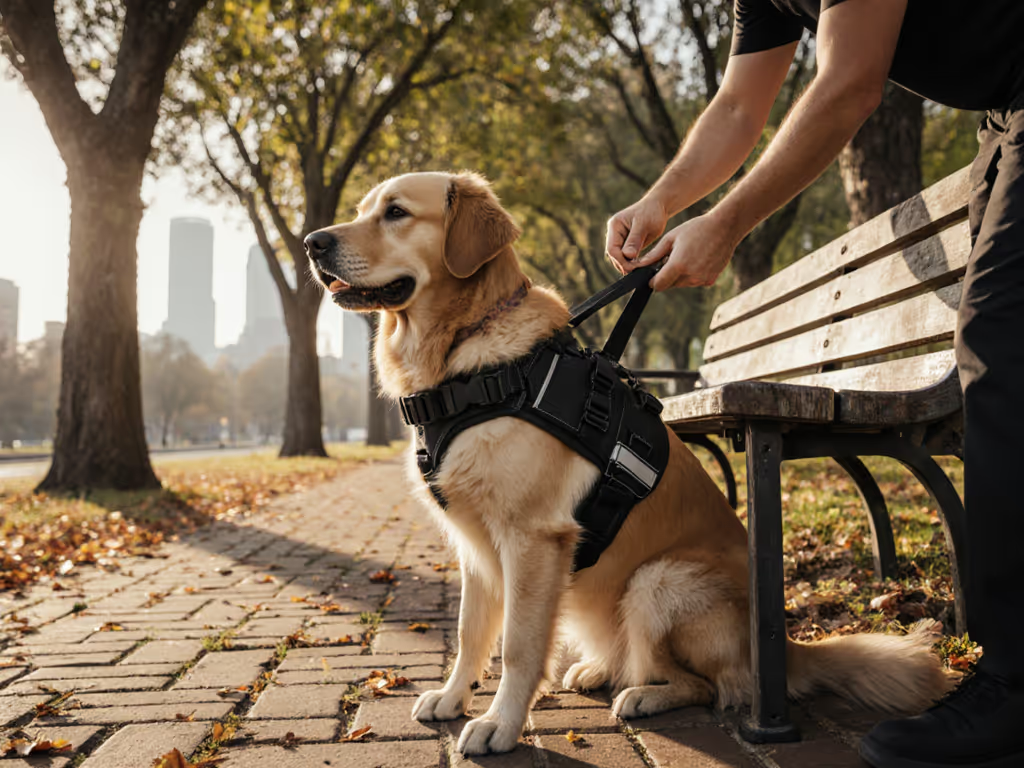
- Y-front harnesses: Distribute pressure across chest and sternum, avoiding shoulder restriction
- Dual-handle training leashes: Allow immediate pressure release during corrections
- Pressure-relief collars: Wide, padded designs that spread force across 3+ inches of neck
For Top Paw Pinch Collar fitting concerns, remember: no collar fits all breeds. Measure neck circumference at the widest point (usually behind ears), then add 2 inches for comfortable movement. Barrel-chested breeds like Bulldogs need 3-4 inches of clearance; sighthounds require sternum strap adjustments to prevent slippage.
Final Verdict: The Path Forward
True humane training prioritizes prevention over correction. While I've outlined minimal safety parameters for prong collar training, my professional recommendation remains unequivocal: invest in ergonomic gear that works with your dog's anatomy, not against it. The sighthound that stopped chafing didn't need "better" prongs, it needed proper load distribution. Your dog deserves that same anatomical respect.
When handlers ask me how to make walks enjoyable, I don't reach for aversive tools, I reach for my measuring tape. Measure twice, adjust thrice, then test on real sidewalks. Your dog's trot will tell you everything you need to know.
Related Articles