Safe Bikejoring Line for Dogs and Canicross Gear Guide
By Sofia Martínez • 29th Sep
What to do
Start bikejoring or canicross slowly: use sport-specific pulling gear, teach the key cues on foot, and build difficulty one variable at a time. The safest first move is three short harness sessions practicing right, left, slow, and stop.
- Start with: Choose gear for the sport: a pulling harness for canicross, or a bikejoring setup with a sport harness, bungee towline, and bike antenna.
- Then: Practice brief forward pulling, turns, slowing, and stopping in a quiet place before adding jogging or a bicycle. Begin bike sessions with straight lines, gentle terrain, and short distances.
- Important prerequisite: Readiness is individual; the IFSS 18-month minimum applies to competition, not every recreational dog. Stop for heat or fatigue signs and seek veterinary guidance when age, health, or fitness is uncertain.
A bikejoring line for dogs is not simply a longer walking leash, and thoughtful canicross training equipment is more than a shopping list. These sports ask a dog and handler to move as a connected team, so the safest beginning is slow: choose purpose-made pulling gear, teach cues on foot, and change one challenge at a time. The goal is not to rush toward speed. It is to build clear communication, predictable handling, and happy short sessions. Teams learn together.
Step 1: Decide which sport you are preparing for
Start by naming the activity, because the setup and the risks change with it. For a broader comparison of training leash options and their best use cases, match the line to the sport, dog, and environment rather than choosing by length alone.
- Canicross preparation can begin at a walk, with the dog wearing the harness and lead while learning cues.
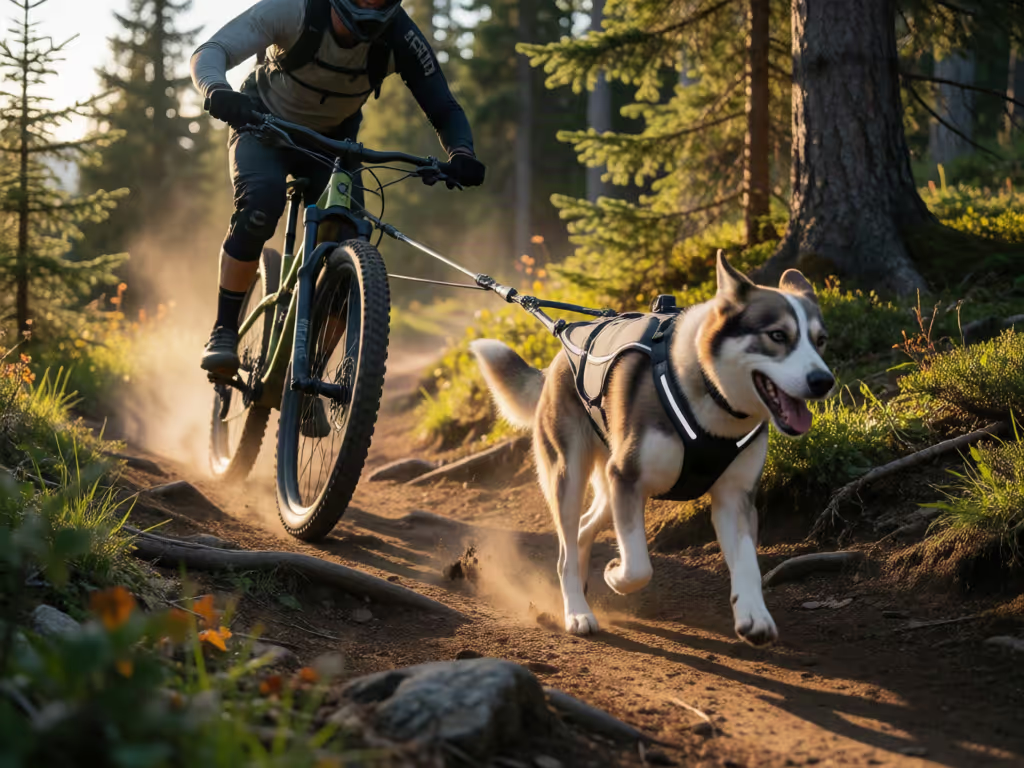
- Bikejoring is a dog-powered sport in which one or two dogs run ahead of a bicycle using a specialized towline and harness. It adds bicycle handling, speed, and front-wheel management to the picture.
In sled-dog sport terminology, the combined line elements that connect dog(s) to a vehicle are called a gangline. The towline or central line, tugline or tail line, and optional neckline are distinct elements within that system. These words help you understand gear descriptions, but they are not a substitute for a beginner training plan.
For a first outing, keep the plan uncomplicated: one dog, one predictable location, one short goal. Build each dog’s skills separately first.
Step 2: Build a simple, sport-specific gear foundation
A welfare-first setup should make the task clear without turning equipment into a shortcut for training.
For canicross foundation work
Use this checklist:
- A harness and lead for practicing on-foot communication.
- A low-distraction place where you can walk, jog a few strides, and stop without pressure.
- A consistent verbal cue for moving forward or pulling.
Published canicross training guidance suggests beginning directional and pace cues while walking with the dog in harness and lead. That is wonderfully practical for busy households: you can train during a brief neighborhood-style walk or a calm park loop rather than waiting for a perfect running day.
For bikejoring
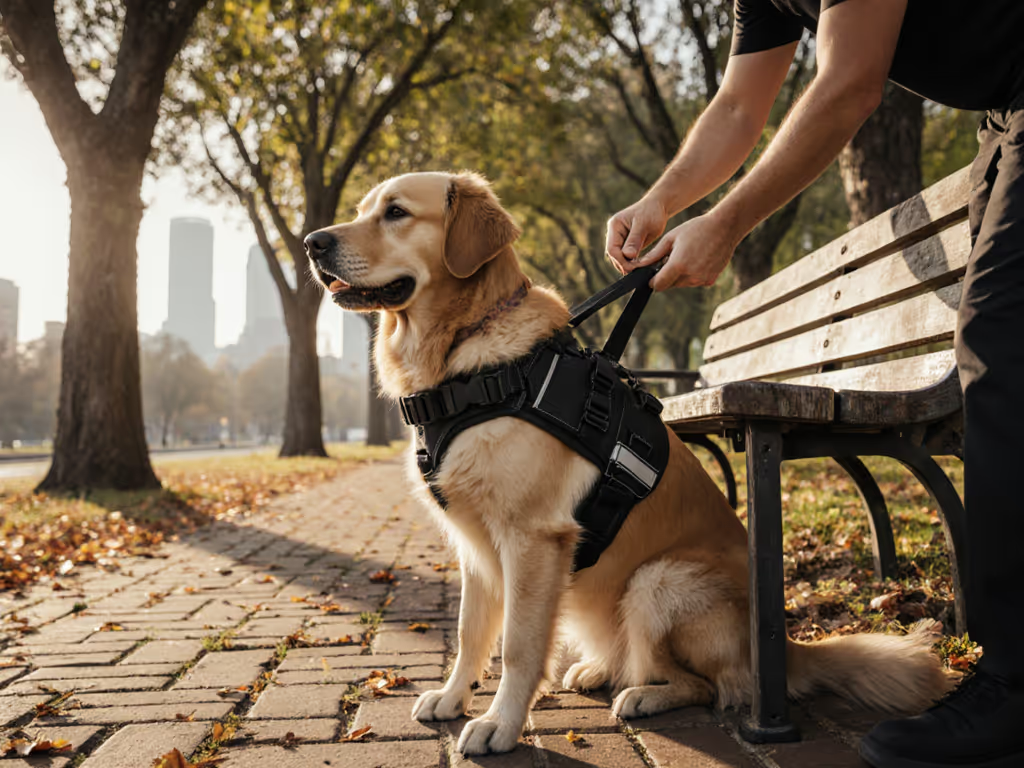
Your bikejoring setup needs additional thought. Before moving forward, review the principles of proper harness fit so the pulling equipment supports comfortable movement without restricting the dog’s shoulders or breathing. Published beginner guidance recommends:
- A pulling harness designed for sled or bike sports.
- A specialized towline with a bungee section (an elastic dog pulling line component intended to absorb sudden pulls).
- A bike antenna: a rigid arm mounted to the bike frame to help keep the towline away from the front wheel.
- A dog that already understands its cues before being attached to the bicycle.
Do not treat an elastic section as a promise that every jolt or situation is safe. It is one part of a careful setup. There is no universal best line, length, load rating, coupler, or attachment arrangement established here, so follow the instructions supplied with your specific equipment, and do not assume parts from different systems are compatible.
Step 3: Teach the language on foot before adding speed
A dog who understands the next request is easier to guide than a dog who is merely excited to run. Begin in the harness at a walk and use one-word cues consistently.
A practical cue set includes:
- Right (gee)
- Left (haw)
- Slow (easy)
- Stop
Choose plain language your whole household will use. Say the cue once, help your dog succeed by taking the intended path or slowing your own pace, then warmly acknowledge the correct response. Avoid repeating the word in a rising, urgent voice; that can turn a clear cue into background noise.
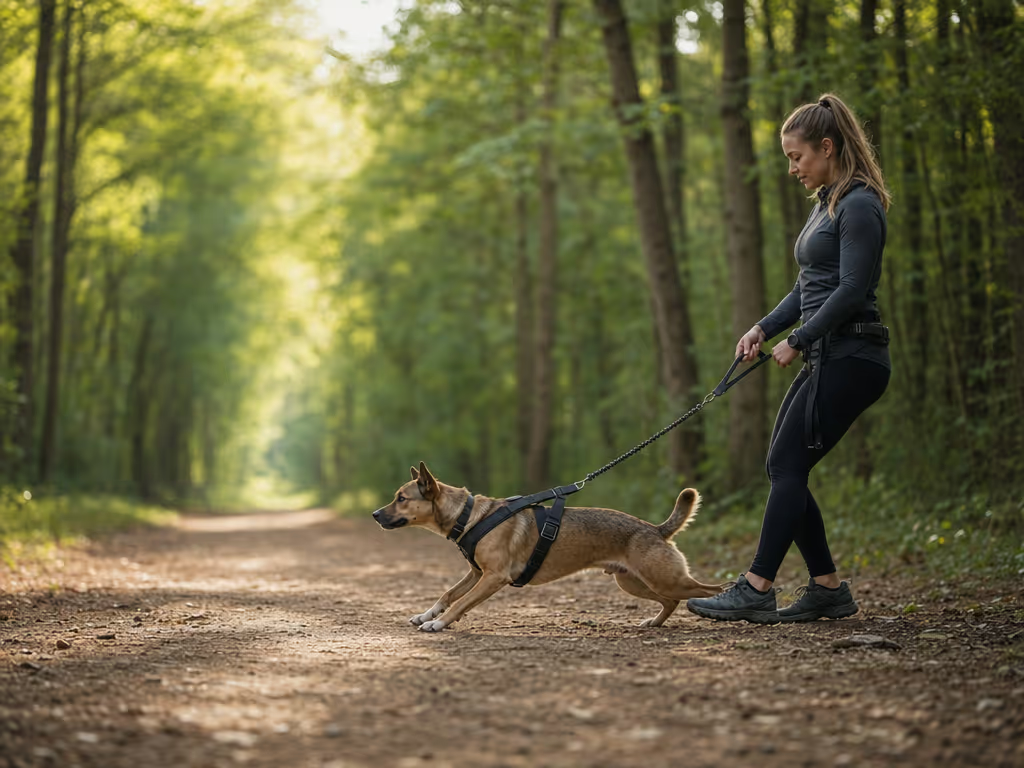
Next, add a brief pulling game. Published canicross guidance describes running a few strides, praising and rewarding the dog for pulling into the harness, and reinforcing the chosen go or pull cue. Keep your shoulders relaxed and your hands quiet. When handlers brace, tug, or change direction abruptly, the dog often receives mixed information through the line.
Small wins, stacked safely, build calm, confident teams.
Think of the first goal as tiny and observable: your dog hears “go” and moves forward into the harness for a few strides. In a small apartment hallway, I once watched a guardian’s confidence return after a calm ten-step practice to the door; the breakthrough came from short threshold reps and a simple turn cue, not from making the session bigger. The same principle carries from home to street, then from a quiet path to sport practice.
Step 4: Pass these stage gates before bike attachment
Do not attach your dog to a bike because the harness arrived. First, check that the communication is already working on foot.
Ready to practice beside the bike
- Your dog can move forward, turn left or right, slow, and stop from familiar cues.
- You have chosen a straight, gentle, predictable route.
Ready for early bikejoring sessions
Published beginner advice favors short distances, straight lines, gentle terrain, and predictable conditions. Keep your posture tall, your gaze ahead, and your hands ready to control the bicycle. If a cue is missed or either partner becomes unsettled, end the attempt without drama and return to the easier stage next time.
The progression rule is pleasingly simple: change only one variable at a time. For the broader principles behind safe conditioning and age-appropriate exercise, see this guide to canine fitness basics.
- Add a little distance, or
- Add a little speed, or
- Add a little terrain complexity.
Not all three. This protects your ability to notice what your dog is actually coping with. It also prevents the common “fine at home, overwhelmed outside” leap in difficulty.
Step 5: Put wellbeing ahead of the planned route
Readiness is not a birthday, a breed label, or a single enthusiastic outing. In IFSS competition rules, dogs must be fit and capable of safely completing the trail, and the cited rules set 18 months as a minimum age for dogs in those races. That competition minimum is not a universal age for recreational canicross or bikejoring.
Growth plates are cartilage regions in long bones that harden and close after growth ends. Avoid relying on formulaic internet rules for exercise duration, and note that the commonly repeated “five minutes per month of age” rule does not have scientific studies behind it according to one rehabilitation publisher. For any young dog or a dog whose condition concerns you, pause sport plans and get individualized guidance from a qualified veterinary professional.
Also let the day’s conditions make the decision. Our guide to hot-weather training gear offers additional guidance on heat-safe materials, hydration, timing, and recognizing heat stress. Sled-dog competition rules recognize that local temperature and humidity can shorten a season for dog wellbeing. Watch for heavier or faster panting, increased thirst, shade-seeking, slowing or lagging, or gums that look darker or brighter pink than usual. If you see possible overheating, stop activity, move your dog to a cooler shaded or air-conditioned place, apply cool water, keep air moving, and contact a veterinarian promptly.
Step 6: Make your first month intentionally small
Use a repeatable rhythm instead of chasing mileage:
- Practice cues on foot during short harness walks.
- Reward brief, calm forward pulling in a controlled space.
- Add jogging strides only when turns, slowing, and stopping remain reliable.
- Introduce the stationary bike calmly, then progress to very short, straight bike sessions when the earlier stage gates are met.
- Review after every outing: What was easy? What was difficult? What single variable will stay the same, or become easier, next time?
This intro to urban mushing gear and sport training is deliberately conservative. Public environments can change quickly, and beginner teams do not need extra complexity to make progress. Consistent cues, controlled conditions, and humane handling create the confidence that carries into new places.
Frequently Asked Questions
Is canicross good for dogs?
Canicross is not automatically right for every dog. It can be approached responsibly when the dog is fit for the activity, the environment supports wellbeing, and training progresses gradually. Avoid broad promises of health benefits; suitability depends on the individual dog and the conditions of that session.
Is bikejoring good for dogs, or is a bike tow leash safe?
Neither has a universal yes-or-no answer. A bikejoring line for dogs belongs within a full safety process: sport-specific equipment, trained directional and stop cues, short predictable sessions, gradual progression, and close attention to heat and fatigue. If any piece is missing, return to on-foot practice rather than trying to solve uncertainty with speed.
What is the best bike leash for dogs?
There is no universally best option. Look for a setup intended for bike pulling: published guidance recommends a sport pulling harness, a towline with a bungee section, and an antenna that helps keep the line away from the front wheel. Then confirm that each component is intended to work with the others.
Your actionable next step
Before buying more gear or planning a long route, schedule three short on-foot harness sessions this week. Practice “right,” “left,” “slow,” and “stop” in the same quiet place. Write down one success after each session. When those cues feel calm and repeatable, you will have a far stronger foundation for canicross, and a safer starting point for bikejoring.
Related Articles